Drone – Smoke Stopper
Handy test device to use when plugging a battery into a new drone. What does it do? If there’s a short circuit somewhere, plugging a…
View More Drone – Smoke Stopper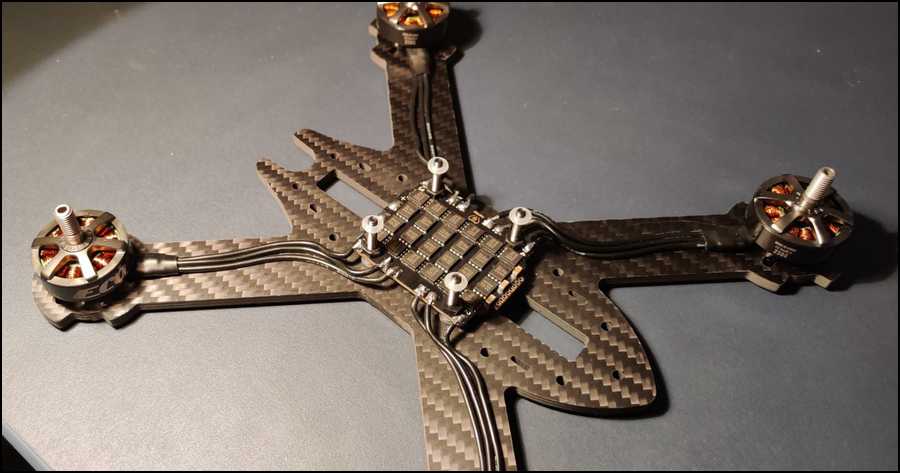
Drone – Build Progress
I’m pretty happy with my first attempt soldering motors to the ESCs. Here’s the XT60 battery connector soldered on: And the flight controller…. started.
View More Drone – Build Progress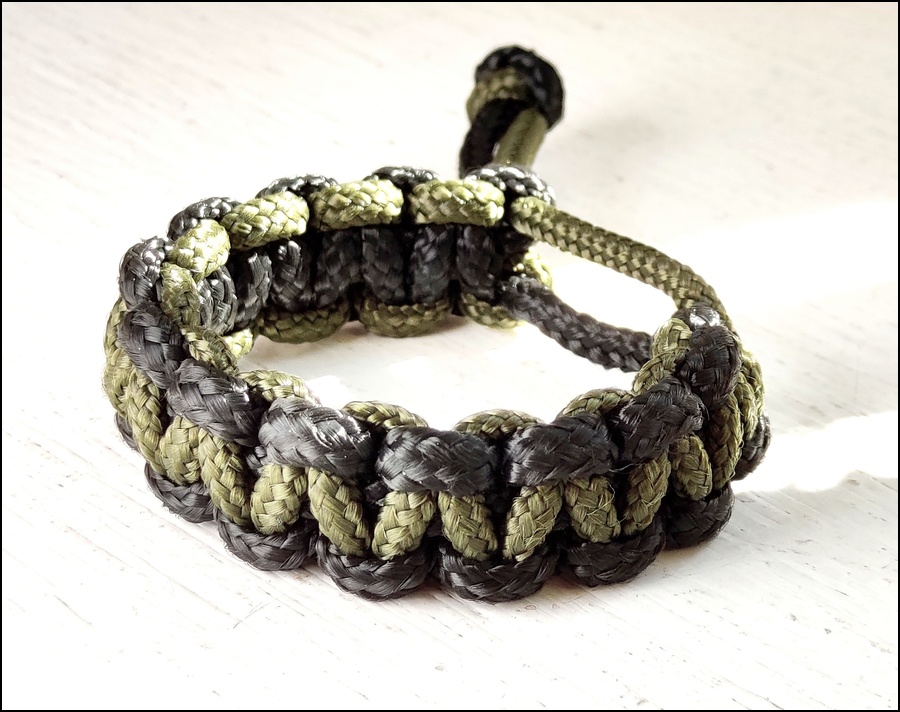
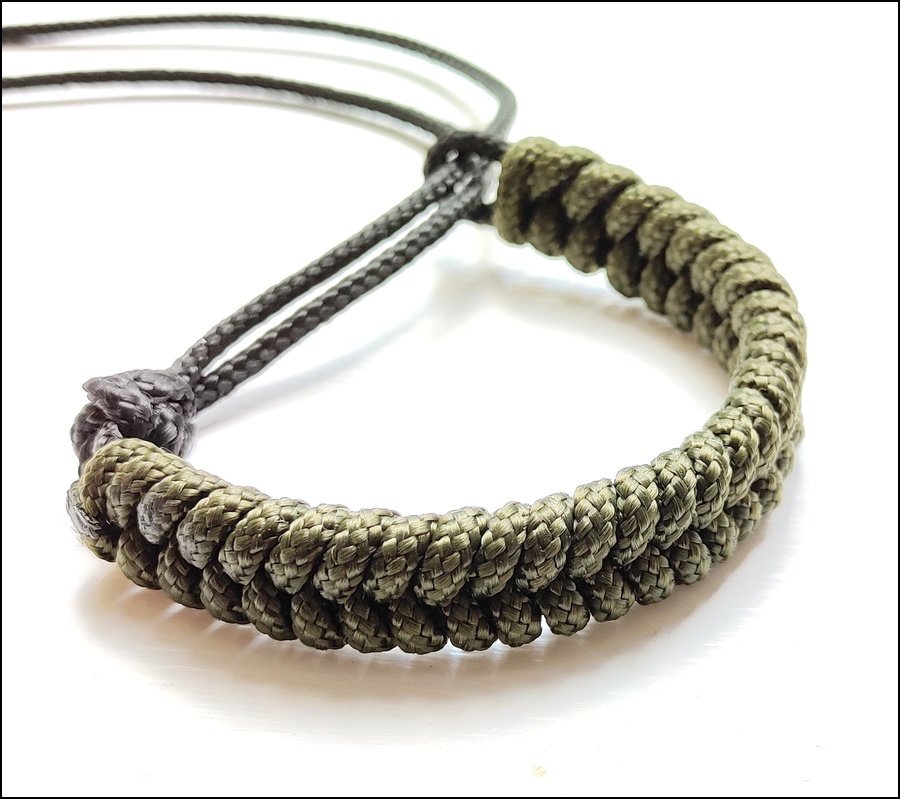
Survival Bracelets
A handy way to carry a few metres of paracord with you. We made this following this tutorial from Bored? Paracord.
View More Survival Bracelets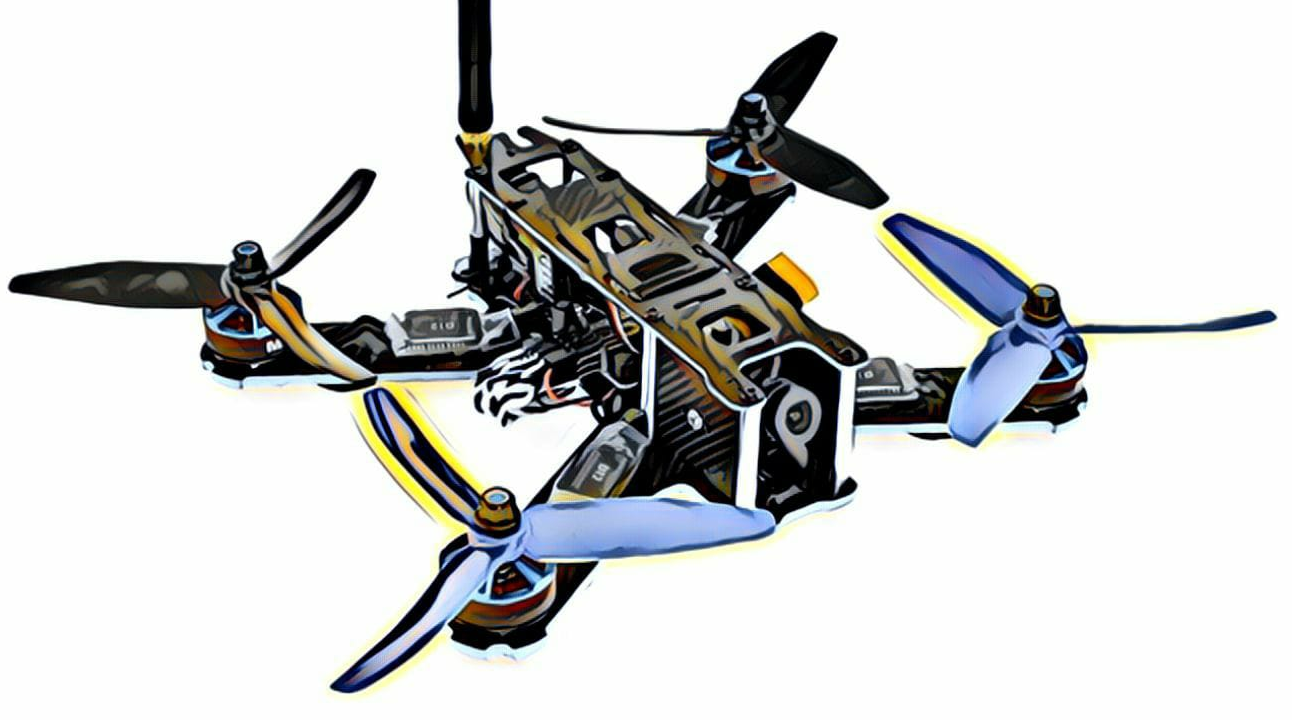
First FPV Drone Build
After much research, much watching of Youtube (Rotor-riot, Bardwell, Le Drib, Steele, Drone Mesh, UAV Futures), and browsing Banggood reviews, I’ve chosen components for my…
View More First FPV Drone Build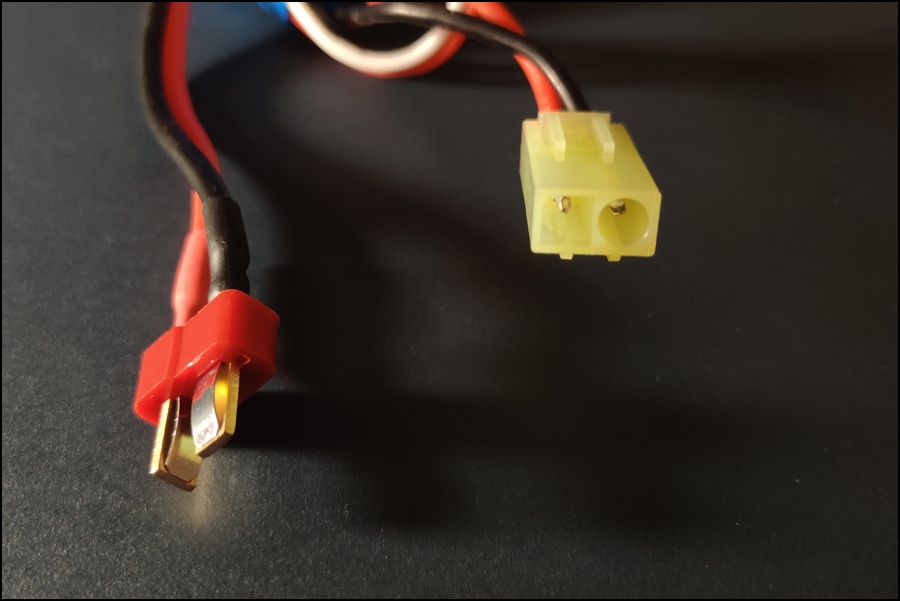
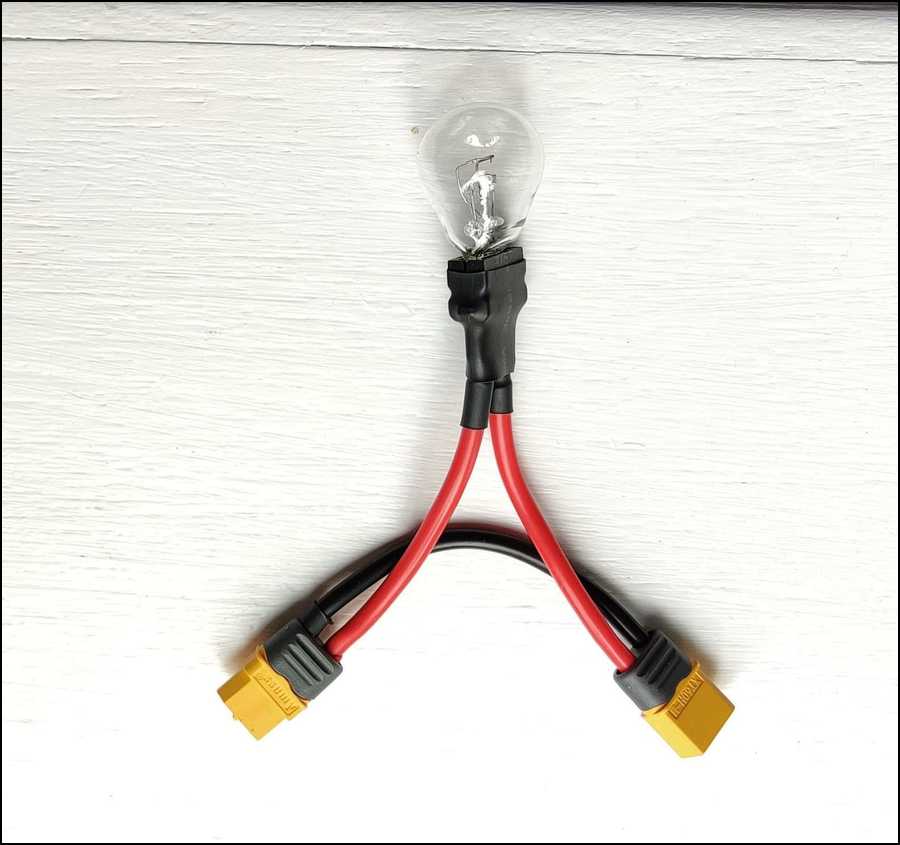
Homemade Charger Adapter
How do you charge this with that? I now have a whole bunch of connectors which will come in useful in the future for any…
View More Homemade Charger Adapter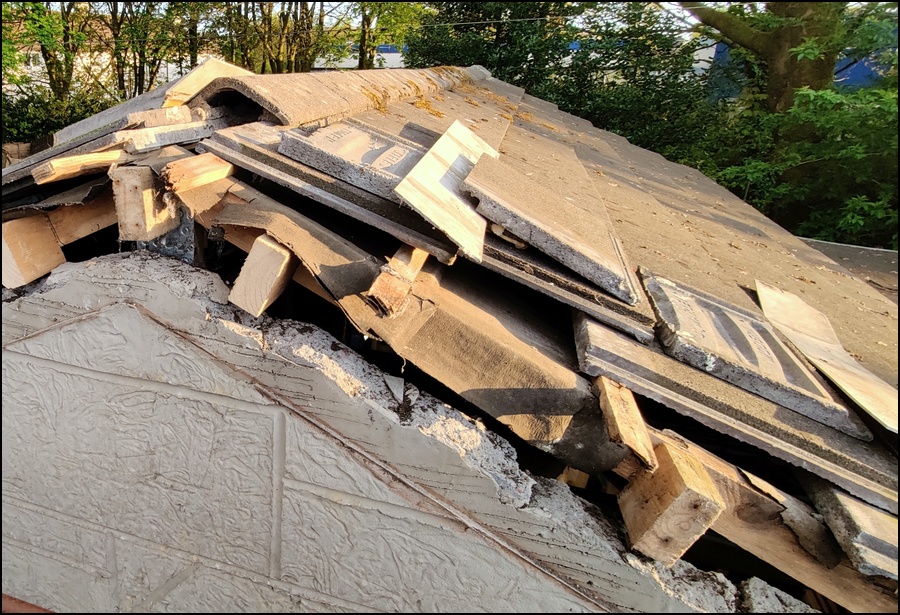
Garage Gable Ends
Replacing rotten timbers at each end of the garage — turned out to be more involved than anticipated.
View More Garage Gable Ends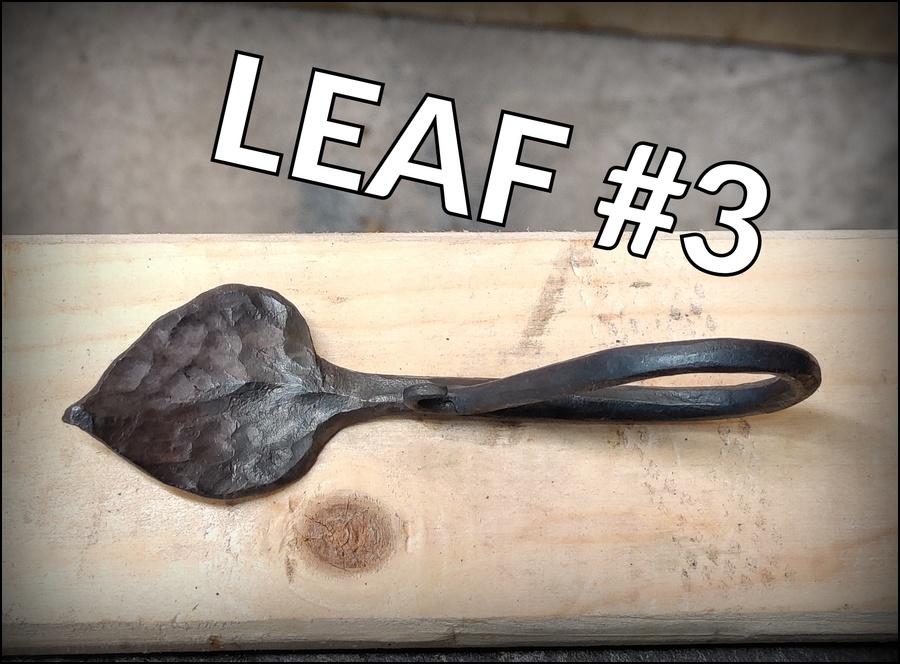

Blacksmithing: Second Leaf
Not much better than the first! Though I did forget to create the taper first.
View More Blacksmithing: Second Leaf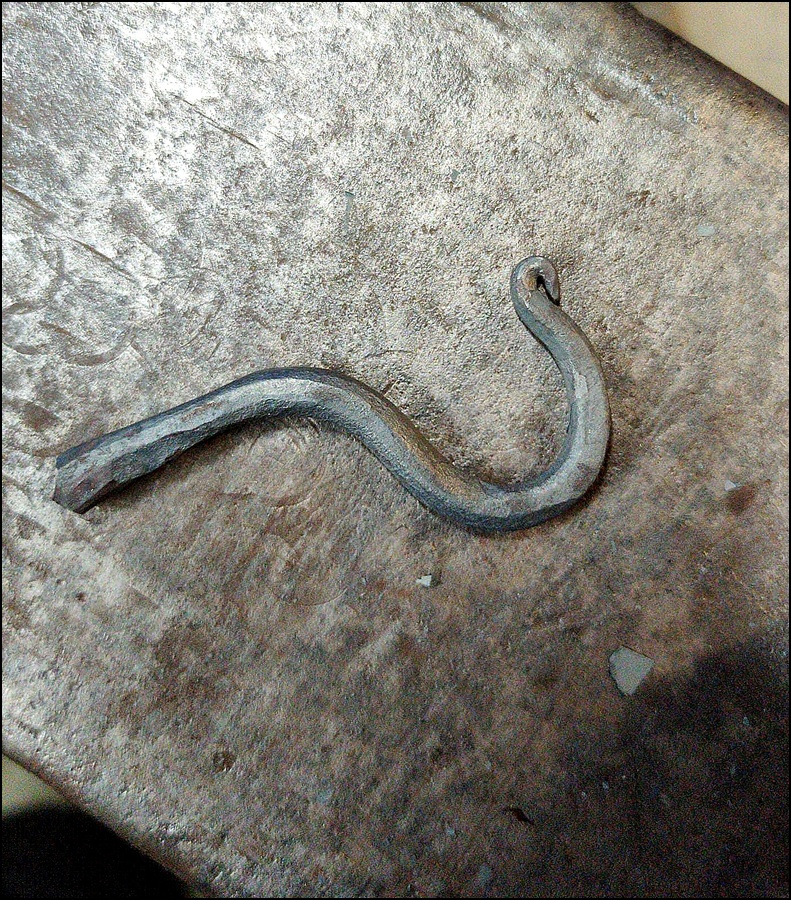
Blacksmithing: Forged Hook
This old house had a heavy duty iron/steel bird feeder left when we moved in. After gradually rusting for 10 or 15 years, I’ve cleaned…
View More Blacksmithing: Forged Hook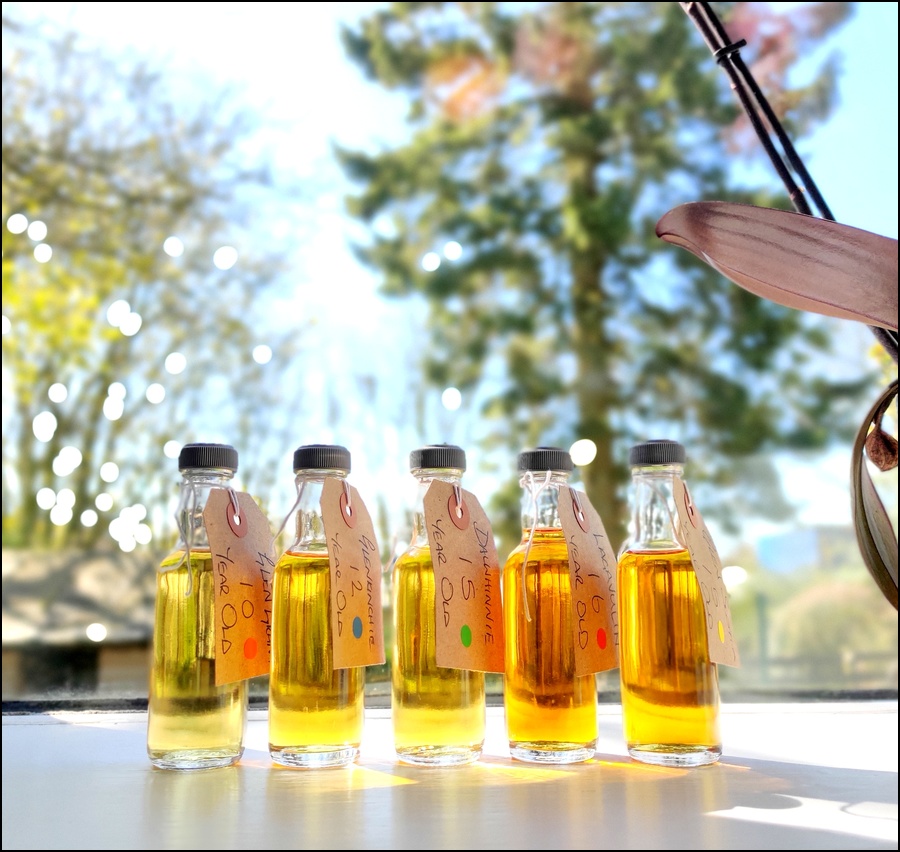
Whisky Tasting
I’m excited to be attending an online whisky tasting this weekend. 5 Single Malts are lined up and ready to go – this should be…
View More Whisky Tasting
Morning Walk
From winter time – Jan ’19
View More Morning Walk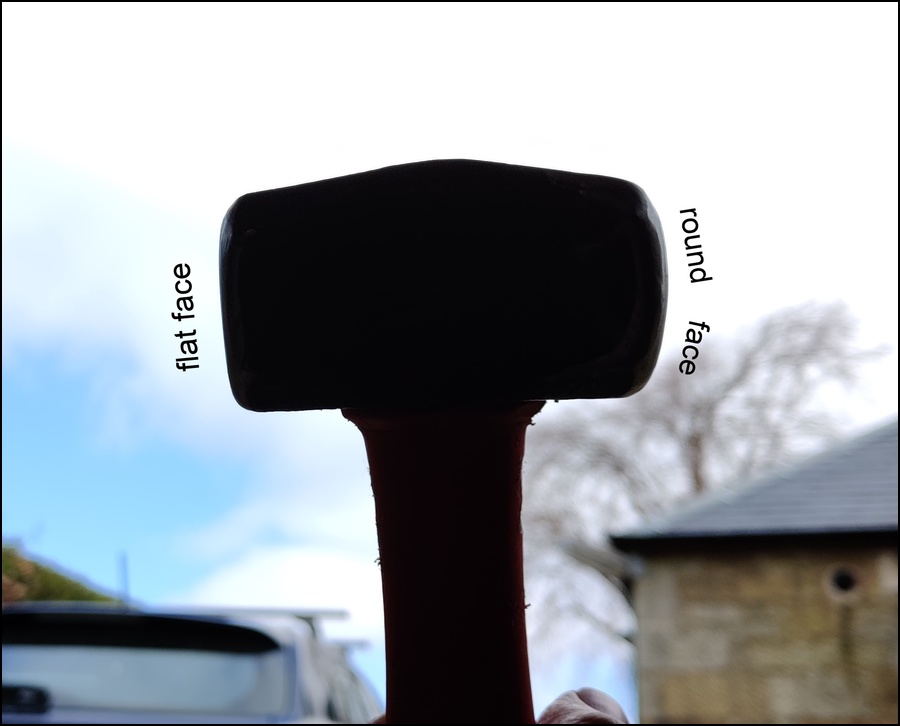
Blacksmithing: Hammer-refacing
The hammer I’ve been using has quickly shown some limitations – it had two flat-ish faces with angled chamfers. I’ve ground them down to something…
View More Blacksmithing: Hammer-refacing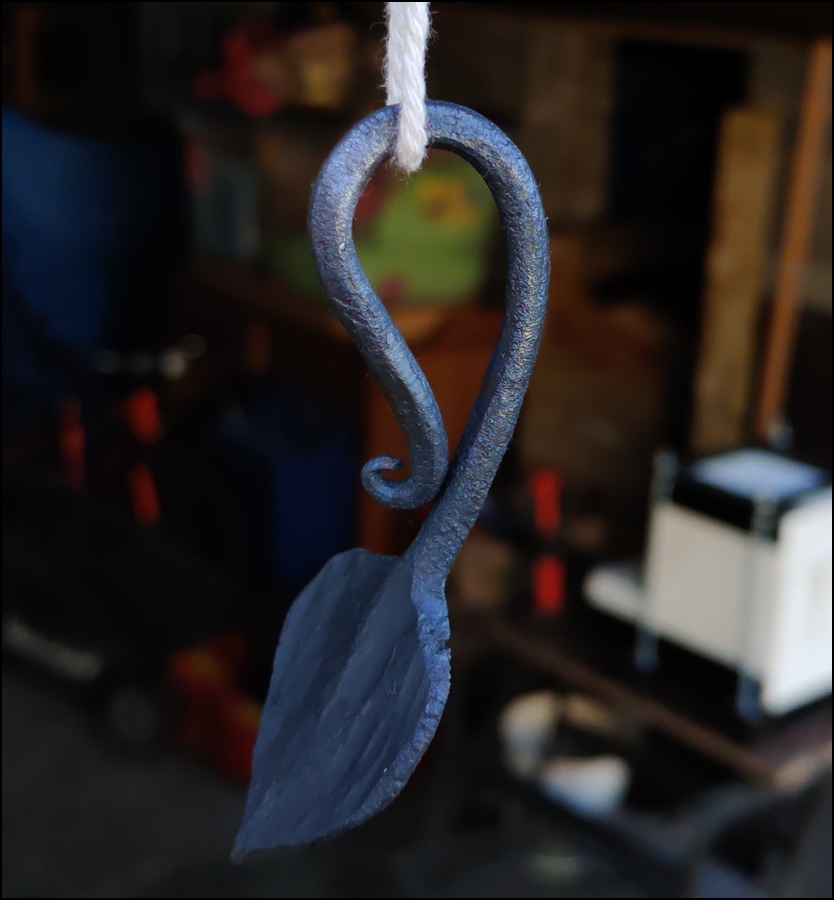
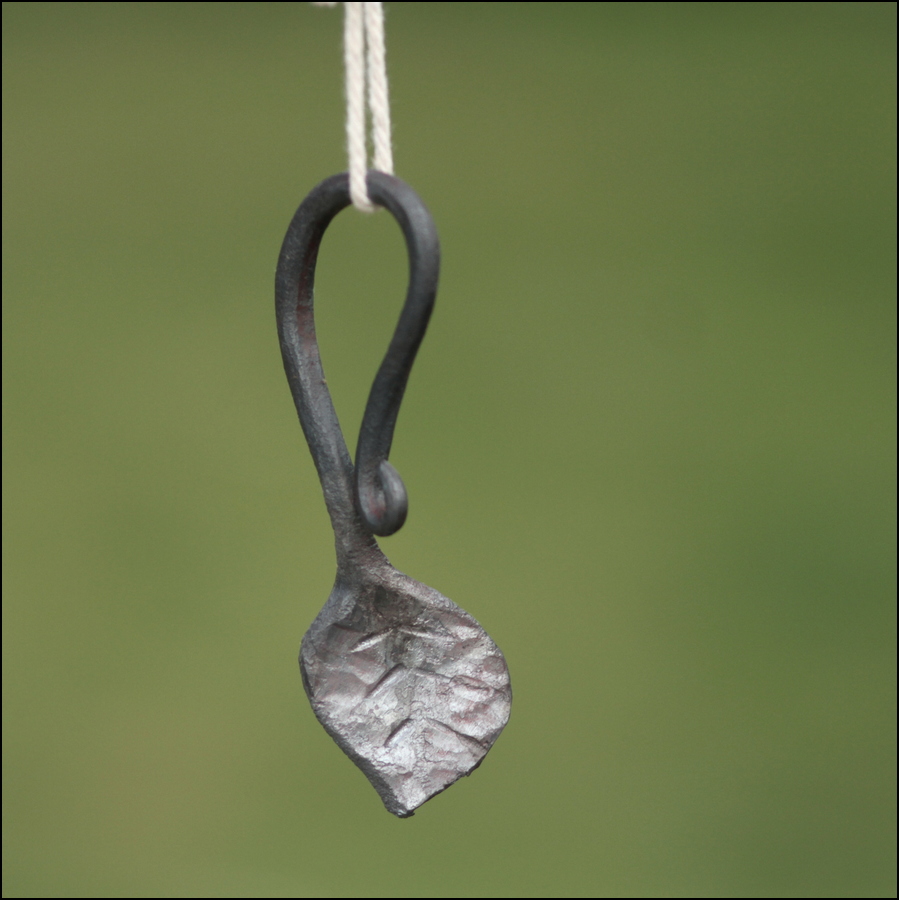
Blacksmithing: First Leaf
The leaf is supposed to be a good exercise for beginners, for hammer control and moving material in the right way. I’m reasonably happy with…
View More Blacksmithing: First Leaf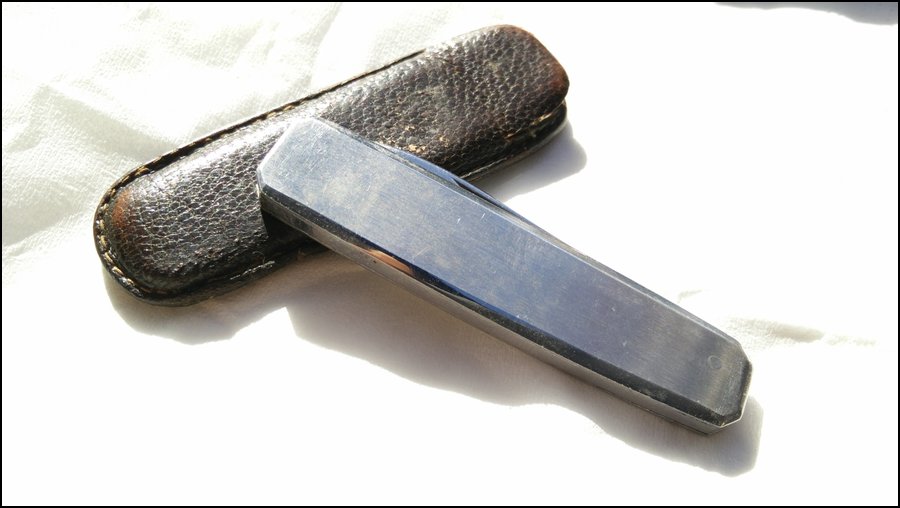
Simple Things
Picked up this pocket knife in Amsterdam for a not many €€ in a second-hand/antique shop. Realised it was still in my pocket as I…
View More Simple Things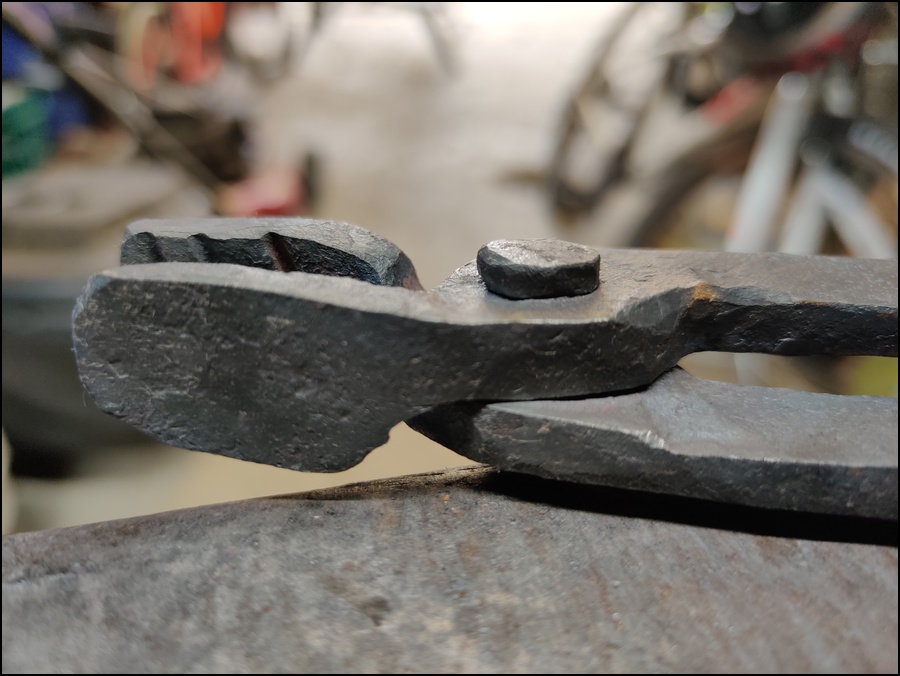
Blacksmithing: First Tongs Complete
Despite my positive last post, that second attempt at tongs was way off too. My third, however was closer… close enough to make a working…
View More Blacksmithing: First Tongs Complete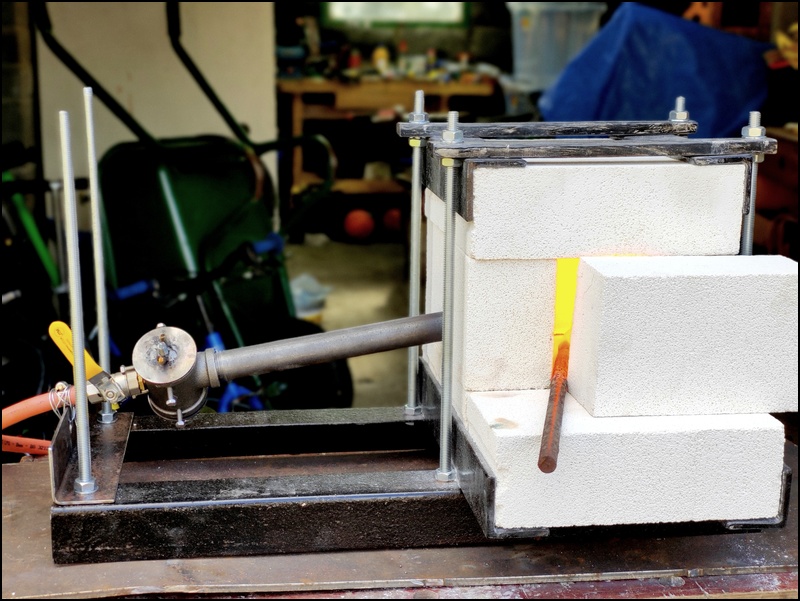
Essential Craftsman Forge
As described in my last post, I built the forge that the Essential Craftsman described in his channel. Fairly easy to build overall. The burner…
View More Essential Craftsman Forge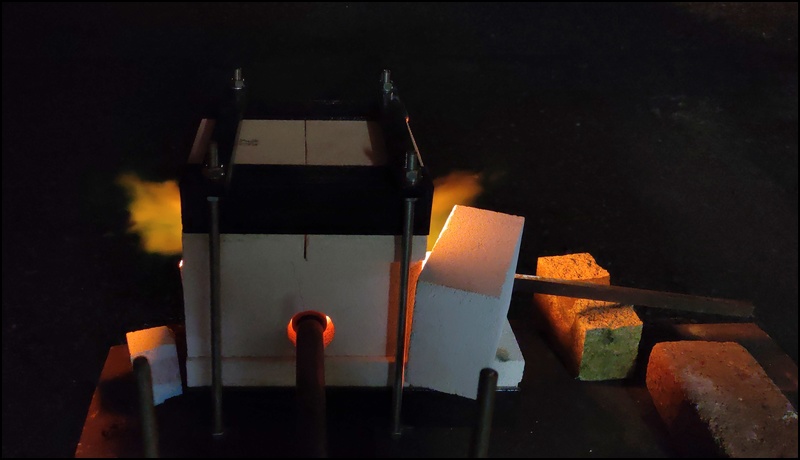
Forge, Hammer & Anvil
After considering it for a couple of years, I finally tried by hand at blacksmithing. I built a forge along the lines of the Essential…
View More Forge, Hammer & Anvil